How to Break in New Arch Support Slides Without Blisters: Expert Tips for Foot Care
By Archiesfootwearshop | Published: 2026-06-19
Category: How-to Guides
Learn how to break in new arch support slides painlessly. Expert tips to prevent blisters, soften straps, and enjoy all-day comfort from day one.
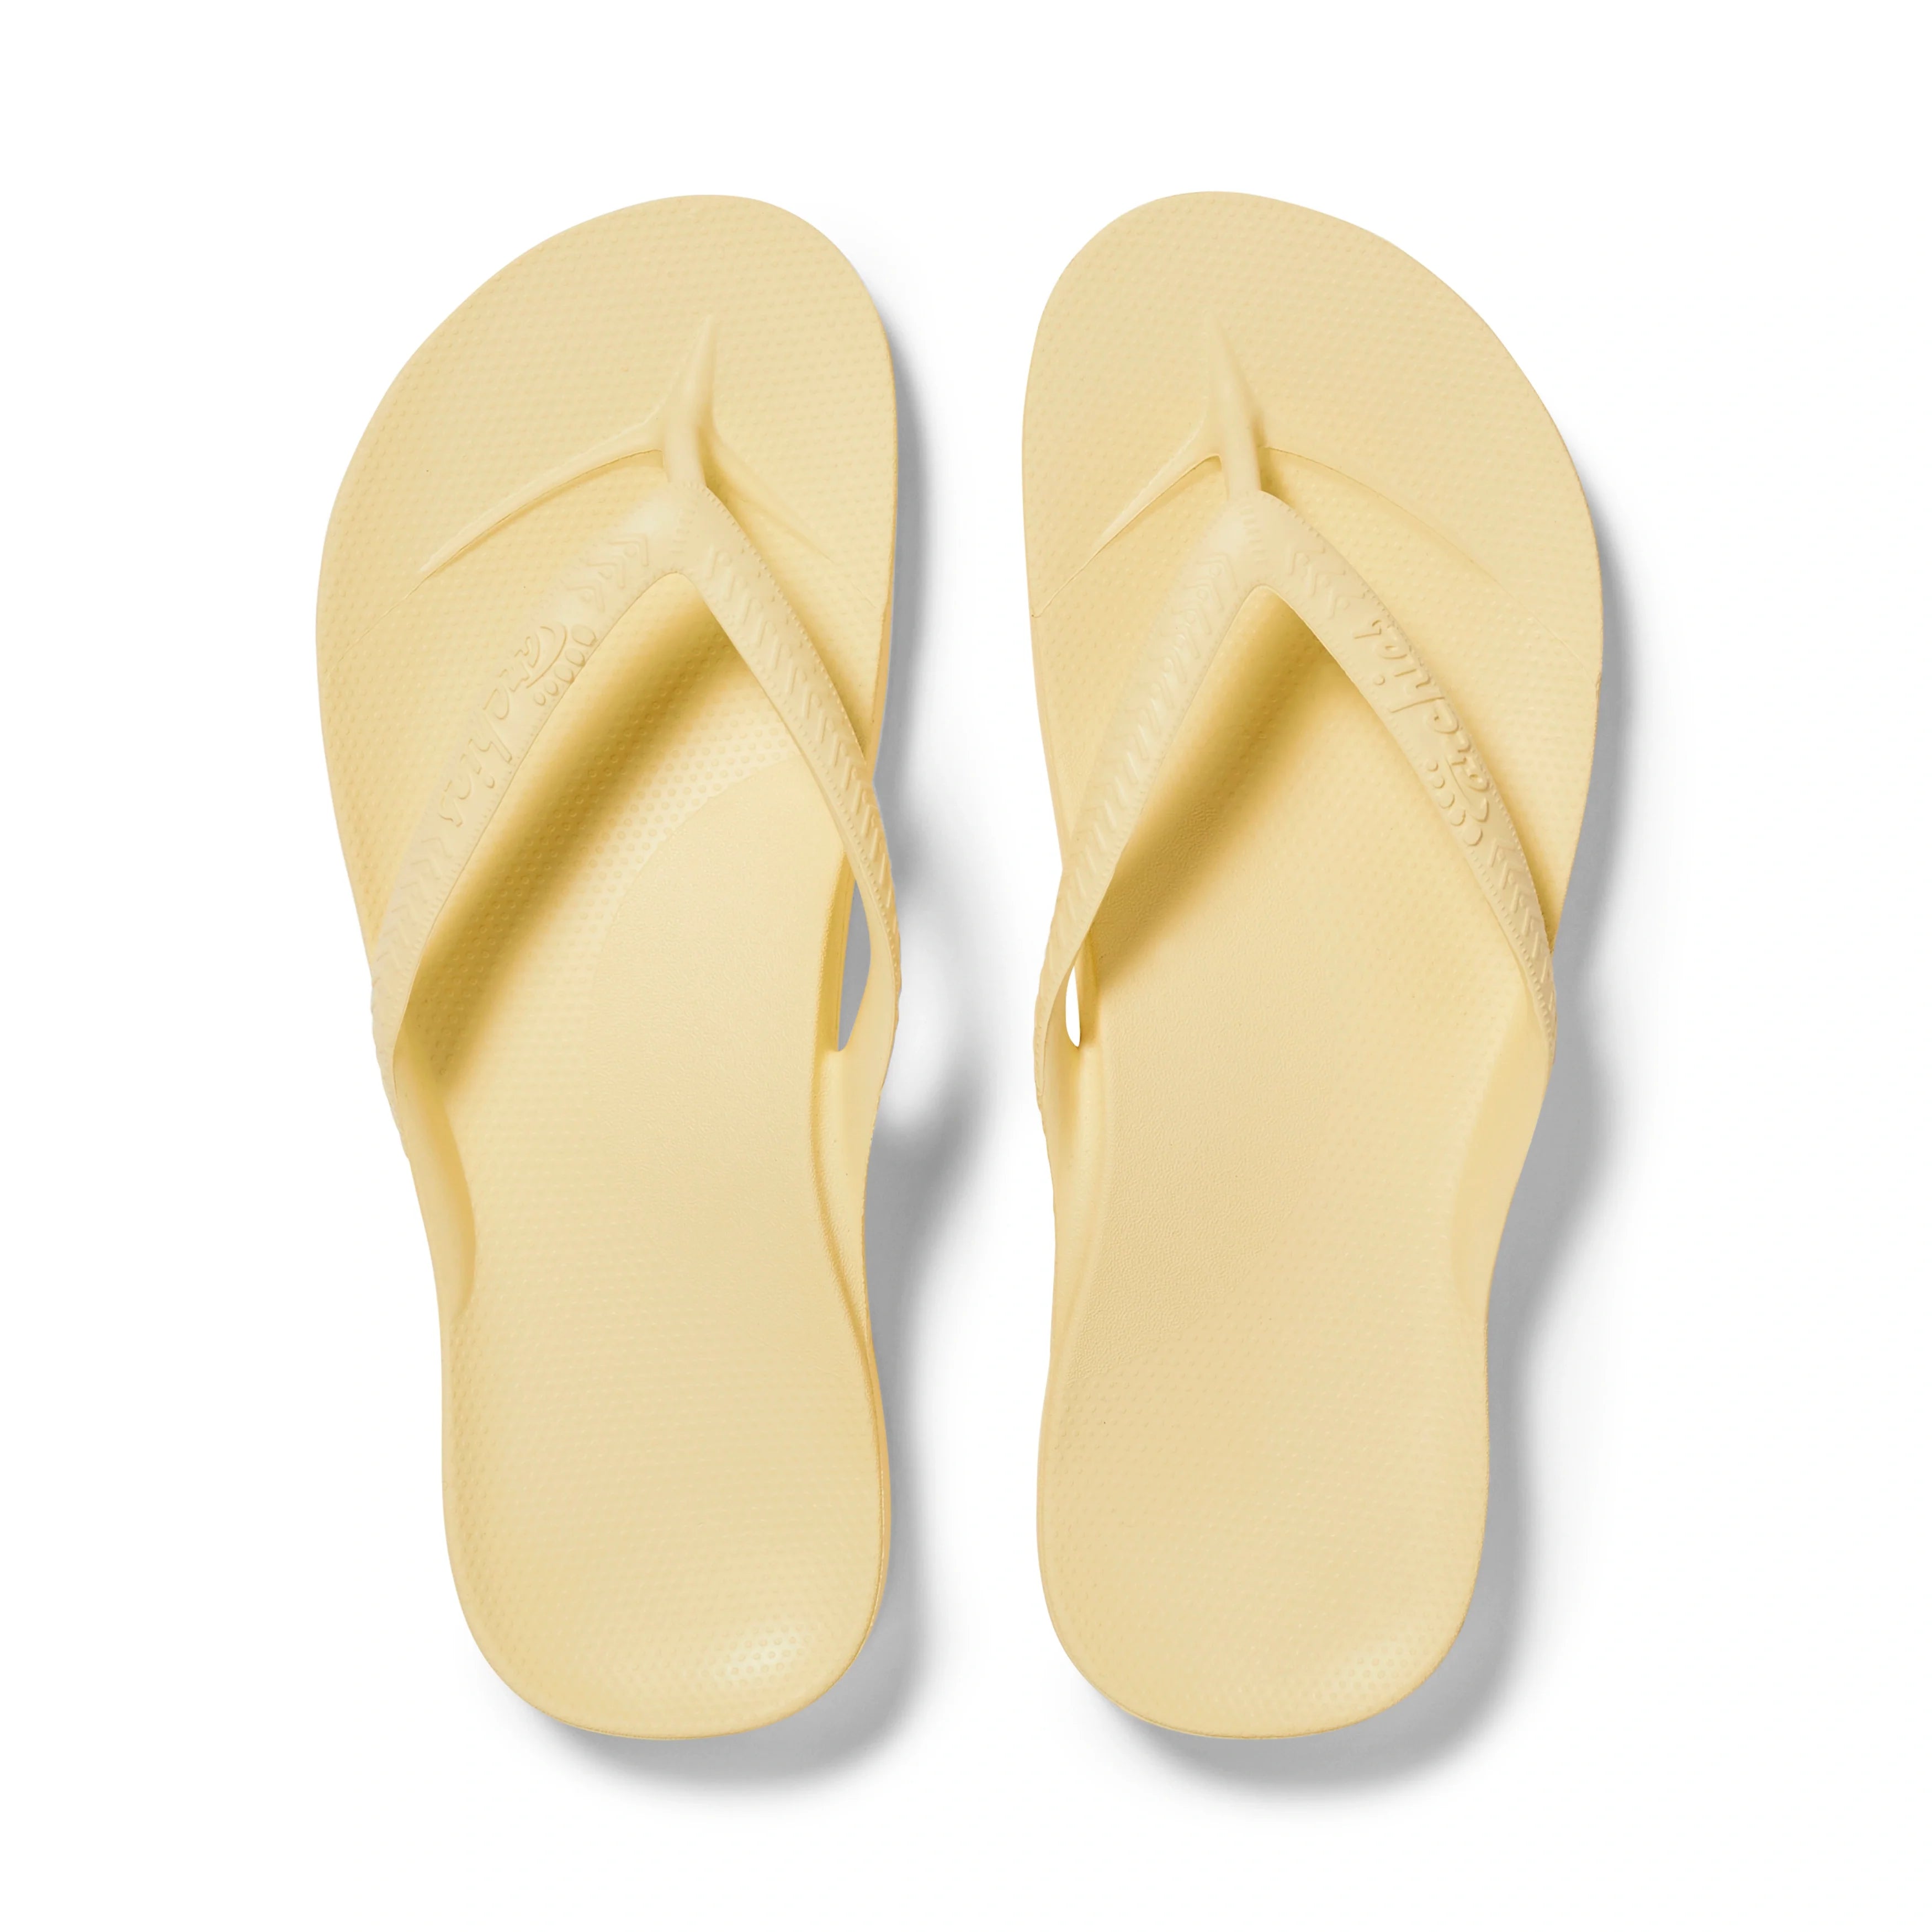
Congratulations on your new pair of arch support slides! Whether you've chosen the Arch Support Slides - Classic - Olive for a versatile everyday look or the sleek Arch Support Slides - Classic - Navy for casual outings, you're about to experience a new level of foot comfort. But before you hit the streets, there's one challenge almost every new slide owner faces: breaking them in without developing painful blisters. The good news? With the right approach, you can skip the soreness and enjoy your slides from the very first wear.
In this guide, we'll walk you through why blisters happen, how to prep your slides before wearing them, and practical tips to break in your arch support slides gradually. Plus, we'll share a few foot care secrets that will keep your feet happy all day long.
Why Do New Arch Support Slides Cause Blisters?
Blisters form when friction meets moisture. New slides often have stiff straps or a firm footbed that hasn't yet molded to the unique shape of your foot. When you walk, the rigid material rubs against your skin—especially on the sides of your feet, the tops of your toes, and your heel. The result? Uncomfortable blisters that can ruin your day.
Arch support slides are designed to provide excellent foot alignment and cushioning, but that supportive structure can feel unyielding at first. The key is to soften the materials gradually while training your feet to adapt to the new support system.
How to Break in Arch Support Slides: A Step-by-Step Guide
Follow these five steps to break in your slides without the blister battle.
1. Start with Short Wear Sessions
Don't try to wear your new slides for an entire day right away. Begin by wearing them around the house for 30 minutes to an hour. This allows your feet to get used to the arch support while giving the materials a chance to flex. Over the next few days, gradually increase the time by 15–30 minutes each session. By day five, you should be comfortable wearing them for a full afternoon.
Pro tip: Wear them on carpeted floors or soft surfaces at first. Hard pavement can increase friction and make blisters more likely.
2. Use Thick Socks to Stretch the Straps
One of the most common blister spots on slides is the strap that crosses the top of your foot. To gently stretch the strap, put on a pair of thick socks—such as Performance Toe Socks - Black—and then slip your feet into the slides. The extra layer of fabric will push against the strap, helping it loosen without causing direct friction on your skin. Wear them for 15 minutes at a time, and repeat every other day until the straps feel more pliable.
If you don't have toe socks, regular crew socks work too, but toe socks offer the added benefit of separating your toes, which can prevent blisters between toes if your slides have a thong between them.
3. Apply Heat to Soften the Footbed
Arch support slides often have a contoured footbed made of EVA foam or similar materials. While these are designed to be durable, they can feel hard before they've been broken in. To speed up the process, use a hair dryer on a low heat setting to warm the footbed for 30 seconds. Then, wear the slides immediately while the material is still warm. The heat makes the foam more pliable, allowing it to mold to your arches and heel faster.
Important: Keep the hair dryer moving and avoid overheating any one spot. You want gentle warmth, not extreme heat that could damage the slides.
4. Lubricate Friction Points
Wherever your slides rub against your skin—typically the outer edge of the big toe, the inner arch, or the heel—apply a thin layer of petroleum jelly, a blister balm, or even a bit of lotion. This reduces friction and creates a protective barrier. Reapply as needed during the break-in period. If you prefer a more natural option, coconut oil works well too.
For extra protection, consider using silicone toe sleeves or blister bandages on known problem areas. They're inexpensive and can make a huge difference in your comfort level.
5. Walk on Different Surfaces
Once you can wear your slides comfortably for an hour at home, take them out for short walks on grass, carpet, or a treadmill. These surfaces are more forgiving than concrete and allow the footbed to flex in different ways. After a few outdoor sessions, you'll notice the slides begin to conform to your feet's natural movement patterns, reducing the risk of blisters significantly.
What to Do If You Still Get a Blister
Even with the best preparation, blisters can sometimes happen. Here's how to handle them:
- Don't pop it. The blister fluid acts as a natural cushion and helps the skin heal. If you pop it, you risk infection and longer healing time.
- Cover it. Use a blister pad or a moleskin patch to protect the area from further friction. Change the dressing daily.
- Give it rest. Take a day off from wearing your slides to let the skin recover. Resume the break-in process once the blister is no longer painful.
- Consider different socks. If you're wearing slides without socks, adding a thin pair of moisture-wicking socks can reduce friction and prevent future blisters.
How Long Does It Take to Break In Arch Support Slides?
Everyone's feet are different, but most people find that their arch support slides feel comfortable after 5–10 short wear sessions spread over one to two weeks. The EVA foam used in many modern slides softens relatively quickly, while rubber or leather straps may take a bit longer. Patience is key—rushing the process almost always leads to blisters.
| Wear Session | Duration | Surface | Goal |
|---|---|---|---|
| Days 1–2 | 30 minutes | Carpet or rug | Introduce feet to arch support |
| Days 3–4 | 1 hour | Soft grass or tile | Allow footbed to flex |
| Days 5–6 | 2 hours | Sidewalk or pavement | Test strap and footbed comfort |
| Days 7–10 | Full day | All surfaces | Full break-in, minimal friction |
Common Mistakes to Avoid When Breaking In Slides
Avoid these pitfalls to keep your feet blister-free:
- Wearing them wet. Wet slides increase friction and soften the skin, making blisters more likely. Always dry your feet and slides thoroughly before wearing.
- Skipping the sock stage. Even if you plan to wear your slides barefoot eventually, starting with socks helps stretch the straps without pain. Transition to barefoot wear only after the slides feel roomy.
- Ignoring hot spots. If you feel a spot getting sore or red, stop immediately. Apply a bandage or blister pad before continuing. Ignoring it will almost guarantee a blister.
- Jumping to long walks. Don't take your new slides on a 5-mile walk on day one. Gradually increase distance just like you increase time.
Final Tips for Long-Lasting Comfort
Once your arch support slides are broken in, maintain their comfort with these habits:
- Clean them regularly with mild soap and water to remove dirt that can cause friction.
- Store them out of direct sunlight to prevent the foam from hardening or cracking.
- Rotate between two pairs if you wear slides daily. This gives each pair time to decompress and last longer.
- Replace them every 6–12 months, depending on wear. Once the arch support flattens, it's time for a new pair.
Ready to Step Into Comfort?
Breaking in new slides doesn't have to be painful. With a little patience and the right techniques, you can enjoy your arch support slides from day one without a single blister. If you're still on the fence about which pair to choose, the Arch Support Slides - Classic - Olive offer a perfect blend of style and support for everyday wear. Explore the full collection at Archiesfootwearshop and give your feet the comfort they deserve.